Sourdough starter is often described as a simple mixture of just flour and water and that’s true. But “simple” doesn’t mean fast, predictable, or obedient.
A starter is something you grow over time. It responds to temperature, flour choice, feeding rhythm, and patience more than exact measurements. Most frustration with sourdough comes from expecting it to behave like commercial yeast.
This guide walks through:
- how to make a sourdough starter from scratch
- how long it actually takes to become strong
- what to expect along the way
- how to troubleshoot common issues
- what to do with sourdough discard
No shortcuts. No hype. Just the method that works.
What a Sourdough Starter Really Is
A sourdough starter is a living culture made up of:
- wild yeast
- lactic acid bacteria
These microorganisms exist naturally on grain and in the air. When flour and water are combined and fed regularly, the environment favors the microbes that ferment sugars, produce gas, and create flavor.
You’re not creating something artificial — you’re encouraging a natural process to stabilize.
That stability takes time.
What You Need (Keep It Simple)
You don’t need specialized equipment.
Ingredients
- Flour (unbleached)
- Water (filtered if possible)
Tools
- A jar or container
- A spoon or spatula
- A kitchen scale (highly recommended)
Using weight instead of volume removes a lot of guesswork and leads to more consistent results.
Flour Choices (And Why They Matter)
You can start a starter with almost any flour, but results vary.
Whole wheat and rye flours:
- ferment faster
- contain more nutrients
- tend to jumpstart activity
All-purpose flour:
- works well
- slower to establish
- easier to maintain long-term
Many people start with whole grain flour, then transition to all-purpose once the starter is strong. That’s a practical approach, not a requirement. I personally have had the best success with whole rye flour.
Day-by-Day Starter Method (By Weight)
This is a framework, not a strict schedule.
Day 1
- 50g flour
- 50g water
Mix thoroughly until no dry flour remains. The texture should be thick but stirrable.
Cover loosely and leave at room temperature.
Day 2
You may see:
- bubbles
- a slightly sour smell
- or nothing at all
Discard about half of the starter.
Feed:
- 50g flour
- 50g water
Day 3–4
This is where many people get confused.
You might see a burst of activity followed by a slowdown. This is normal. Early bacteria bloom, then die off as the ecosystem shifts.
Continue once-daily feedings:
- discard about half
- 50g flour
- 50g water
Don’t chase bubbles. Just stay consistent.
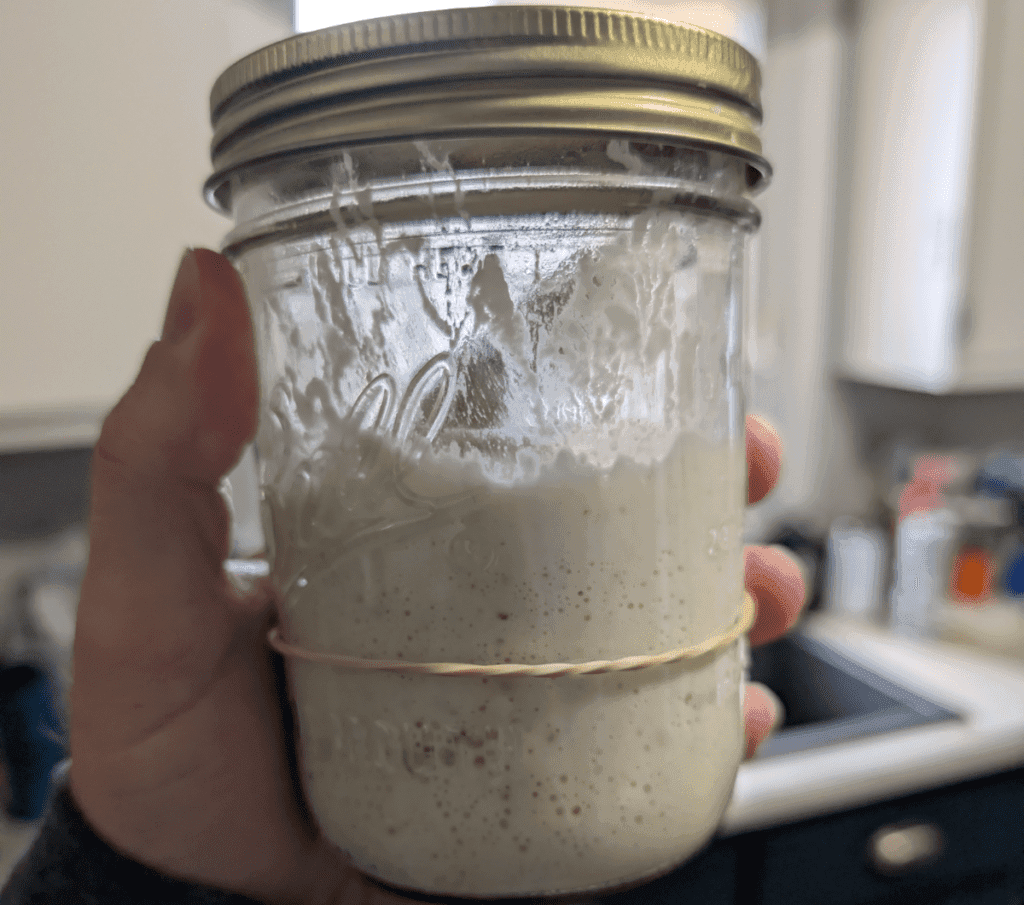
Day 5–7
Your starter may begin to:
- bubble more evenly
- smell tangy instead of sharp
- rise slightly, then fall
At this stage, it’s alive — but often not strong enough to bake bread yet.
This is where unrealistic timelines cause people to quit.
How Long It Really Takes (2 Weeks to a Month)
While some starters appear “ready” in 7–10 days, a truly reliable bread starter often takes:
- 2 weeks in warm kitchens with whole grain flour
- 3–4 weeks in cooler homes or with all-purpose flour
Temperature, hydration, and feeding consistency matter more than the calendar.
A strong starter:
- doubles predictably after feeding
- rises and falls on a regular rhythm
- smells clean and mildly sour
You can bake before this point, but results improve dramatically with time.
Think of the first month as training, not production.
Feeding Rhythm and Maintenance
A basic feeding ratio by weight:
- 1 part starter
- 1 part flour
- 1 part water
Example:
- 25g starter
- 50g flour
- 50g water
You don’t need large quantities unless you bake frequently.
If baking regularly, room temperature feeding works well. If baking occasionally, refrigeration slows things down and reduces maintenance.
Starters are resilient — they don’t need constant attention, just consistency.
Common Starter Problems (And What They Mean)
No Activity
Often caused by:
- cold temperatures
- chlorinated water
- low-nutrient flour
Move the starter to a warmer spot and consider switching to whole wheat or rye for a few feedings.
Bad Smells
Early stages can smell unpleasant. This usually resolves with regular feedings.
If a smell improves over time, that’s normal. If it gets worse after multiple feedings, discard more aggressively and continue.
Liquid on Top (Hooch)
This is alcohol from fermentation and means the starter is hungry.
Stir it in or pour it off, then feed.
Mold
If you see colored fuzz or growth, discard the starter and start over. This is uncommon but not salvageable.
What to Do With Sourdough Discard
As your starter matures, you’ll discard a portion before feeding. This discard doesn’t need to be wasted.
Once your starter is past the first week and smells clean, discard can be used in:
- pancakes or waffles
- flatbreads
- crackers
- quick breads
- biscuits
Discard adds flavor, not rise. Most discard recipes rely on baking powder or soda instead of fermentation.
If you don’t plan to use it right away, discard can be stored in the refrigerator for several days.
You don’t need to use discard to justify sourdough — but it’s a nice bonus once the routine settles in.
Final Thoughts
Sourdough starter doesn’t reward urgency. It responds to rhythm, patience, and attention over time.
If it takes weeks instead of days, that’s not failure — that’s normal. A slower starter often becomes a more stable one.
Once your starter is established and predictable, the rest of sourdough baking becomes much less mysterious.
If you’re ready to move from starter to baking your first real loaf I wrote a post about that here:
Simple Everyday Sourdough Recipe
The starter is the foundation. The bread is where everything comes together.
– Just a note from the yard.