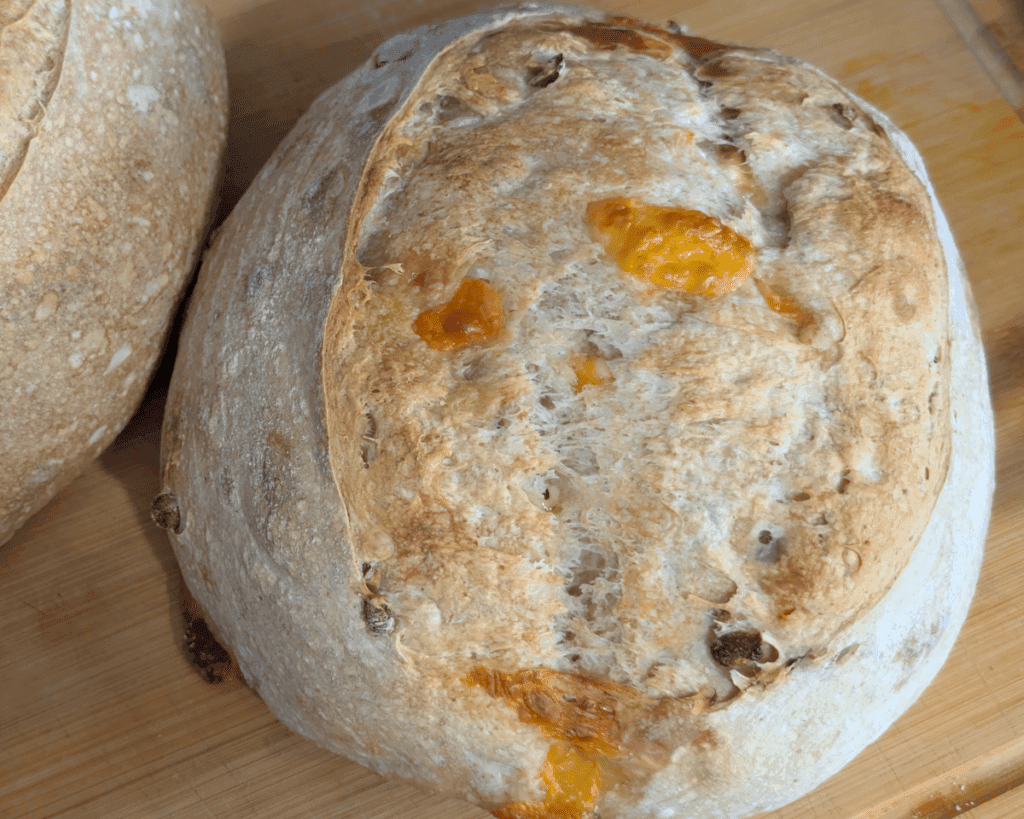
This is our go-to loaf. Reliable, forgiving, and good for daily bread. (Pictured is our Cheddar Jalapeno sourdough)
Ingredients
- 500g flour (bread flour, wheat, rye) You can use all purpose but in my experience it doesn’t work well. I usually do a combination 200g bread flour, 50 grams dark rye, and 250 grams patent flour. You should always use bread flour and then whatever other flours you’d like.
- 350g water
- 60g active sourdough starter
- 10g salt or 2 tsp, 10g of salt doesn’t always register on the scale so I just do 2 tsp per loaf.
This creates about 70% hydration, which is easy to work with and hard to mess up.
Mixing the Dough
In a large bowl:
- Add 350g water
- Mix in 60g active starter
- Add 500g flour
- Sprinkle in 10g salt
Stir until it comes together into a rough dough.
It doesn’t need to be smooth. Just combined.
Cover the bowl and let it rest. For about 1 hour.
Bulk Fermentation
Let the dough ferment at room temperature for 6–12 hours. This can vary widely based on temperature, at 70-75 °F it takes me about 6-8 hours. You can do this overnight however you run the risk of over fermenting and the starter running out of food. Causing your bread to collapse when cooking. Warmer temps with make it rise much quicker along with higher humidity so take that into consideration. You want your dough to double in size during this time.
During this time:
- The dough should rise noticeably
- It will feel lighter
- Bubbles will form throughout
- During the first 2 hours, even half hour you need to fold your dough for a total of 4 times. This creates strong gluten structure, the structure that allows your bread to rise when baking. To fold you grab your dough from underneath and fold over the top, do this until the whole dough ball has been folded over the top of the dough.
- After the 3rd fold you can add any flavorings and additions to your loaf if you don’t want it to be just plain sourdough. My favorites are Cheddar chunks and Jalapenos, everything bagel seasoning, or herb and parmesan.
- Bulk fermentation is done once the dough has doubled in size.
Shaping the Loaf
Turn the dough out onto a lightly floured surface.
- stretch the dough out into a rectangle
- Take each corner and fold it into the middle
- flip the dough so the seam is to the bottom on the surface your working on.
- Gently shape into a round or loaf, the easiest way to do this is to take a bench scraper and gently lift the dough and spin it while catching it with your other hand then repeating until you have a nice ball or loaf shape
- Keep tension on the surface this is most of the reason for shaping to create tension on the top of the loaf so your bread holds it shape when baking.
Place seam-side up in a bowl or rattan and cover tightly to bulk ferment again in the refrigerator. I usually do this overnight and bake my bread around noon or in the early afternoon. I recommend at least 12 hours but you can go as long as 24 hours the sweet spot is somewhere between 8-16 hours. If using a bowl I would suggest lightly greasing the bowl or your sourdough may stick when trying to remove to bake.
Longer ferments produce a more sour tasting dough, typical of sour dough. You can bake your bread after fermenting overnight in the fridge really any time, but for a true sourdough taste and a good crumb, longer ferments are better. Also a longer ferment allows for the gluten to break down more, making it easier to digest, this is why sour dough is generally better for you, and easier on your digestion.
Baking the Bread
Dutch Oven Method
- Preheat oven to 450°F (230°C) with the Dutch oven inside
- Score the top of your bread with at lame, this cut allows for steam to escape from the top and helps to make your bread rise (oven spring). To score make a cut with your lame (or sharp knife/Razor) about a quarter inch in 1 motion down the middle of your loaf. If your doing a round I like to score an X in the top of the loaf.
- Carefully place dough into the hot pot seam side down. Easiest to just flip your container you bulk fermented in the fridge into the pot and it should come out easily.
- Cover and bake 30 minutes
- Remove lid and bake 15–20 minutes
Without a Dutch Oven (Open Baking)
- Bake at 425°F (220°C)
- You can use a cast iron skillet, baking sheet, pizza stone, or even a metal bowl to cook your bread. I generally open bake like this with a cast iron skillet. If you want to do multiple loafs a baking steel turns one oven tray into a big flat steel allowing you to cook 3 loafs at a time.
- Score the top of your bread with at lame, this cut allows for steam to escape from the top and helps to make your bread rise (oven spring). To score make a cut with your lame (or sharp knife/Razor) about a quarter inch in 1 motion down the middle of your loaf. If your doing a round I like to score an X in the top of the loaf.
- Place a pan of water in the oven for steam
- Bake 40–45 minutes
The bread is done when:
- Crust is deep golden brown
- Bottom sounds hollow when tapped
Let it cool completely before slicing. This matters more than people think.
Common Beginner Mistakes
- Cutting too early
- Using inactive starter
- Over-flouring during shaping
- Chasing perfect timing instead of watching the dough
Mistakes are part of learning. Every “bad” loaf still feeds you.
Why This Method Works
Using weight instead of volume:
- Keeps hydration consistent
- Makes results repeatable
- Helps you understand what’s actually happening
Once you get a feel for this base recipe, you can adjust it endlessly. Don’t sweat the details, bake a few loafs and adjust, it has a learning curve. My first few loafs where nothing to write home about.
Final Thoughts
Sourdough isn’t about mastery. It’s about rhythm.
You feed the starter.
You wait.
You bake.
You eat.
Over time, it becomes part of your household, like tending a garden or splitting wood. It slows you down in a way that feels necessary.
If you stick with it, this bread will quietly replace most of what you used to buy — and you won’t miss it.
– Just a note from the yard.